這篇文章主要提供在 Mac M2 上安裝 Hugo 、執行一個 quick start 的示範站點,並自動部署到 GitHub Pages 的過程
What is Hugo ?
Hugo 是一個通用的網站框架。從技術上講,Hugo 是一個靜態站點生成器。與根據每個訪問者請求動態構建頁面的系統不同,Hugo 在您創建或更新內容時構建頁面。
靜態站點生成器
網站生成器的目的是將內容呈現為 HTML 文件。大多數是“動態站點生成器”。這意味著 HTTP 服務器——即,將文件發送到瀏覽器以供查看的程序——運行生成器以在每次最終用戶請求頁面時創建一個新的 HTML 文件。
隨著時間的推移,動態站點生成器被編程為緩存它們的 HTML 文件,以防止在向最終用戶交付頁面時出現不必要的延遲。緩存頁面是網頁的靜態版本。
Hugo 使緩存更進一步,所有 HTML 文件都呈現在您的計算機上。在將文件複製到託管 HTTP 服務器的計算機之前,您可以在本地查看這些文件。由於 HTML 文件不是動態生成的,我們說 Hugo 是一個靜態站點生成器。
Mac M2 安裝
安裝前需求
Hugo 經常會伴隨著 Git 和 Go 的功能來進行部署和使用其他的 modules feature,因此需要先檢查 Git 和 Go 是否有安裝
Git installation
Mac M2 預設已安裝 Git

透過指令確認 git 是否已安裝
git --version
如需要重新安裝 Git ,可利用 brew 指令進行安裝
brew install git
Go installation
同樣利用 brew install 指令安裝 Go 即可
brew install go
安裝完成後,利用指令檢查安裝版本,以確認安裝成功

brew install Hugo
利用 brew install 指令,直接安裝 Hugo extended edition 版本即可
brew install hugo
安裝完成後,一樣利用指令檢查安裝版本,以確認安裝成功

Quick Start
以 Hogo 官方的 Quick Start 文件為例
建立 Hugo 站點
# 利用 hugo 指令建立新的靜態站點
# 並在當前目錄下建立名為 "quickstart" 的資料夾
$ hugo new site quickstart
# 切換到 quickstart
$ cd quickstart
# 利用 git 指令將 quickstart 資料夾變成一個 repository
# 並受 git 管理
$ git init
# 以 submodule 方式為添加可用 hugo 主題
# 官方採用 Ananke 主題作為示範
$ git submodule add https://github.com/theNewDynamic/gohugo-theme-ananke themes/ananke
# 將主題設置給 hugo
# hugo 通常以 config.toml 作為主要設定檔案
# 除了 toml 格式標準,也可以使用 json 或 yaml 格式
$ echo "theme = 'ananke'" >> config.toml
# 在本機電腦上執行 hugo server 服務
# -D 表示可以在本機預覽 draft: true 的文章
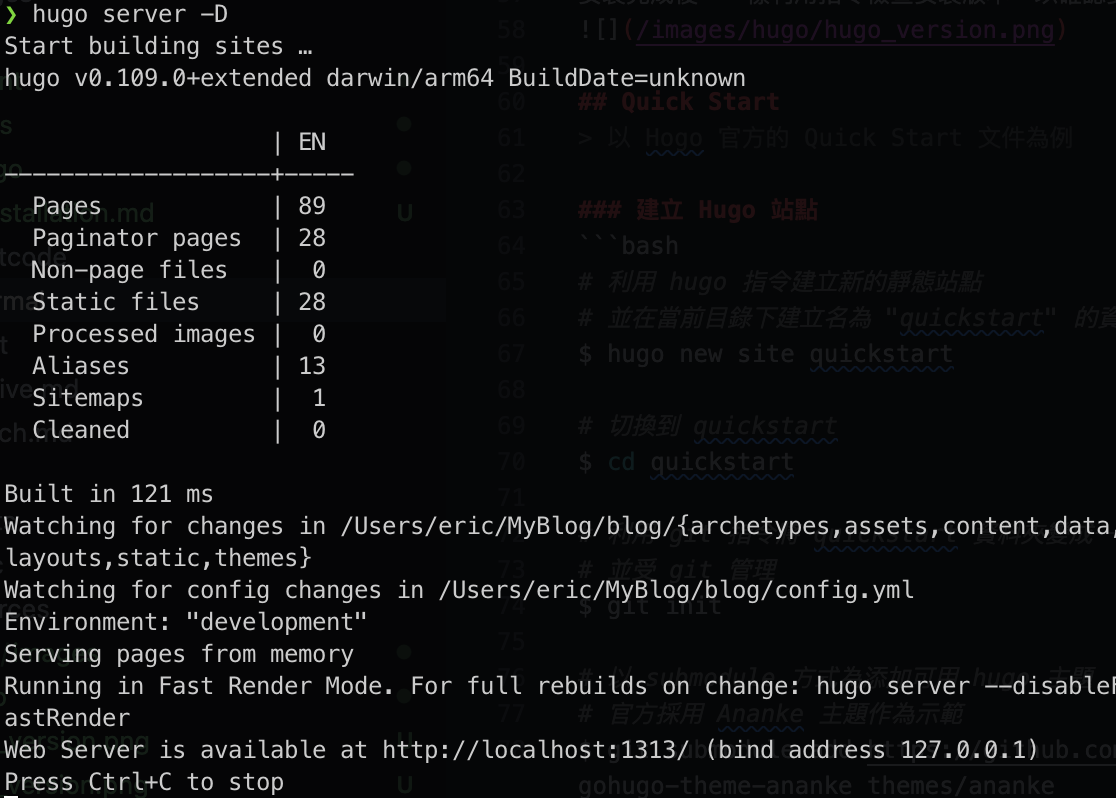
$ hugo server -D
執行 hugo server -D 後,可以在 terminal 看到本機電腦提供的測試 URL : http://localhost:1313/ ,在瀏覽器上輸入這段 URL 便能夠看到本機點腦上的 Hugo 站點與文章
新增一篇文章
在 terminal 中,進入了 qucikstart 的 Hugo 站點資料夾後,利用 Hugo 指令建立一篇新的文章
$ hugo new posts/hello_world.md
hugo new 指令可以幫助我們快速的建立 Hugo 站點內的所以新資源 如果不熟悉的話,也可以直接在圖像介面中,在 content 資料夾下新增一個 posts 資料夾,並且在 posts 資料夾在新增一個 hello_world.md 檔案,也能達成相同的效果
文章內容
打開 hello_world.md 檔案,預設應該會看到 Hugo 幫我們建立的 Front Matter 資訊
title: "My First Post"
date: 2022-11-20T09:03:20-08:00
draft: true
title : 文章標題date : 文章建立時間draft : 是否為草稿。 true 表示為草稿,Hugo 不會將草稿發佈到正式的站點環境,草稿文章僅在 hugo server -D 時可見。
*.md 檔案使用的是 markdown 語法 , 可以在 Front Matter 下直接使用 markdown 語法開始編寫文章
---
title: "My First Post"
date: 2022-11-20T09:03:20-08:00
draft: true
---
## Introduction

This is **bold** text, and this is *emphasized* text.

Visit the [Hugo](https://gohugo.io) website!
文章內容有異動並且儲存檔案後,在 hugo server -D 啟動本機電腦 Hugo 站點的情況下,可以直接在 http://localhost:1313/ 中看到變動後的文章內容。
部署到 GitHub Pages
目前有滿多 provider 支援部署 Hugo 站點的服務,如 AWS Amplify, CloudCannon, Cloudflare Pages, GitHub Pages, GitLab Pages, and Netlify.
因個人習慣,所以本文採用部署到 GitHub Pages
建立 GitHub Pages 的 Repository
登入自己的 GitHub 帳號後,建立一個 repository 給 GitHub Pages 使用
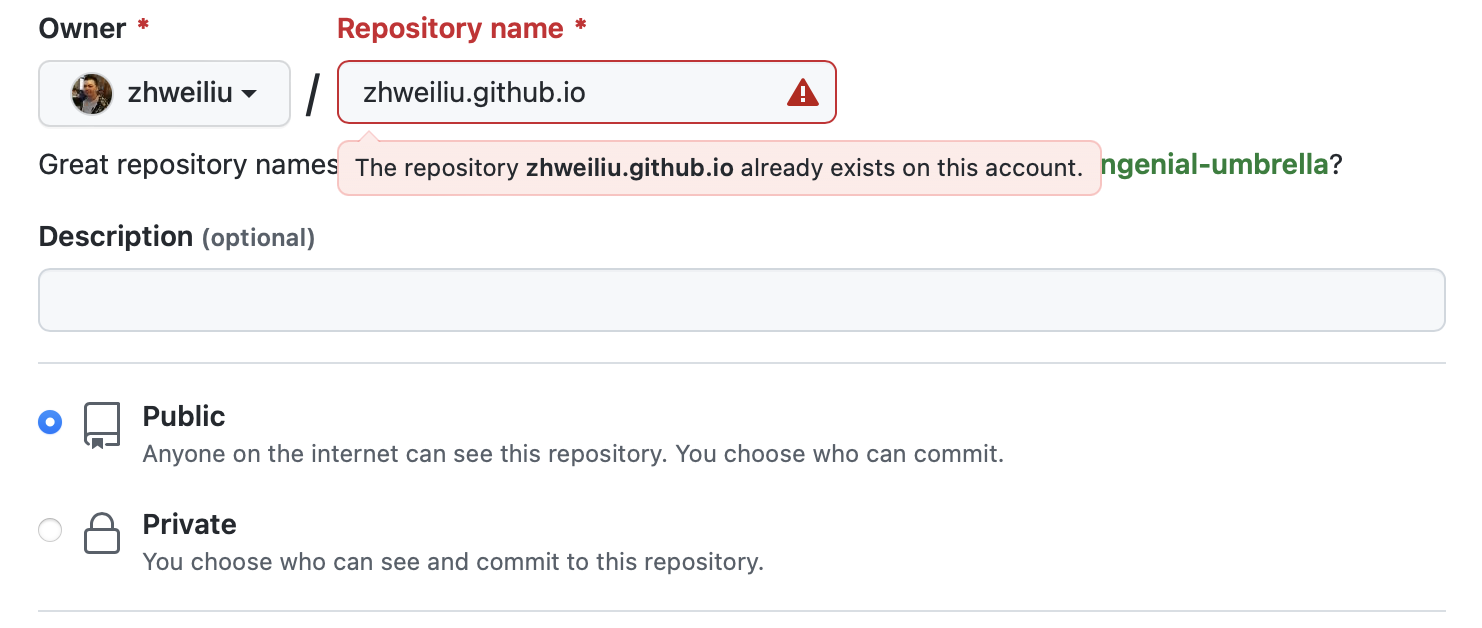
Repository Name 嚴格規定要使用
{github 帳號}.github.io
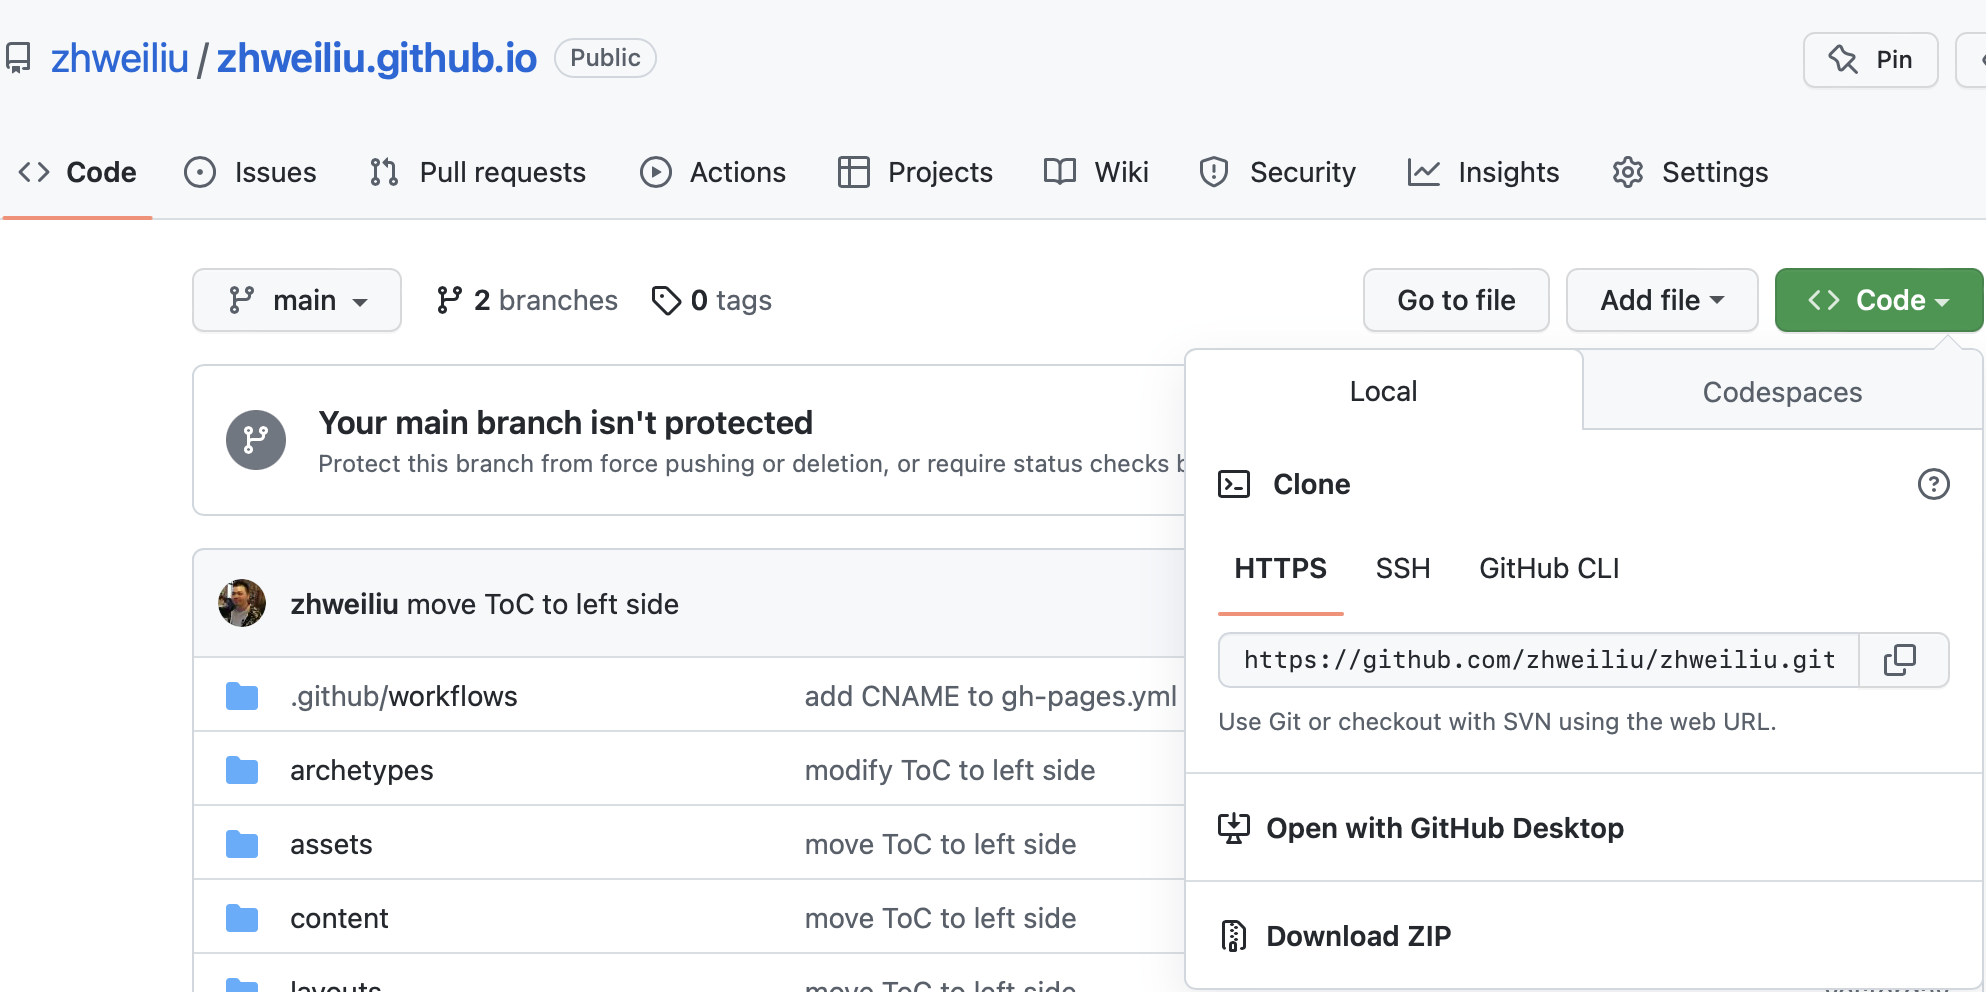
先找到剛才建立好的 GitHub Pages Repository 提供的 HTTP URL
開啟 Terminal 並在 Hugo 站點下執行 git 指令
$ git remote add origin {GitHub Pages Repository URL}
透過指令檢查 git remote 是否設定完成
$ git remote -v

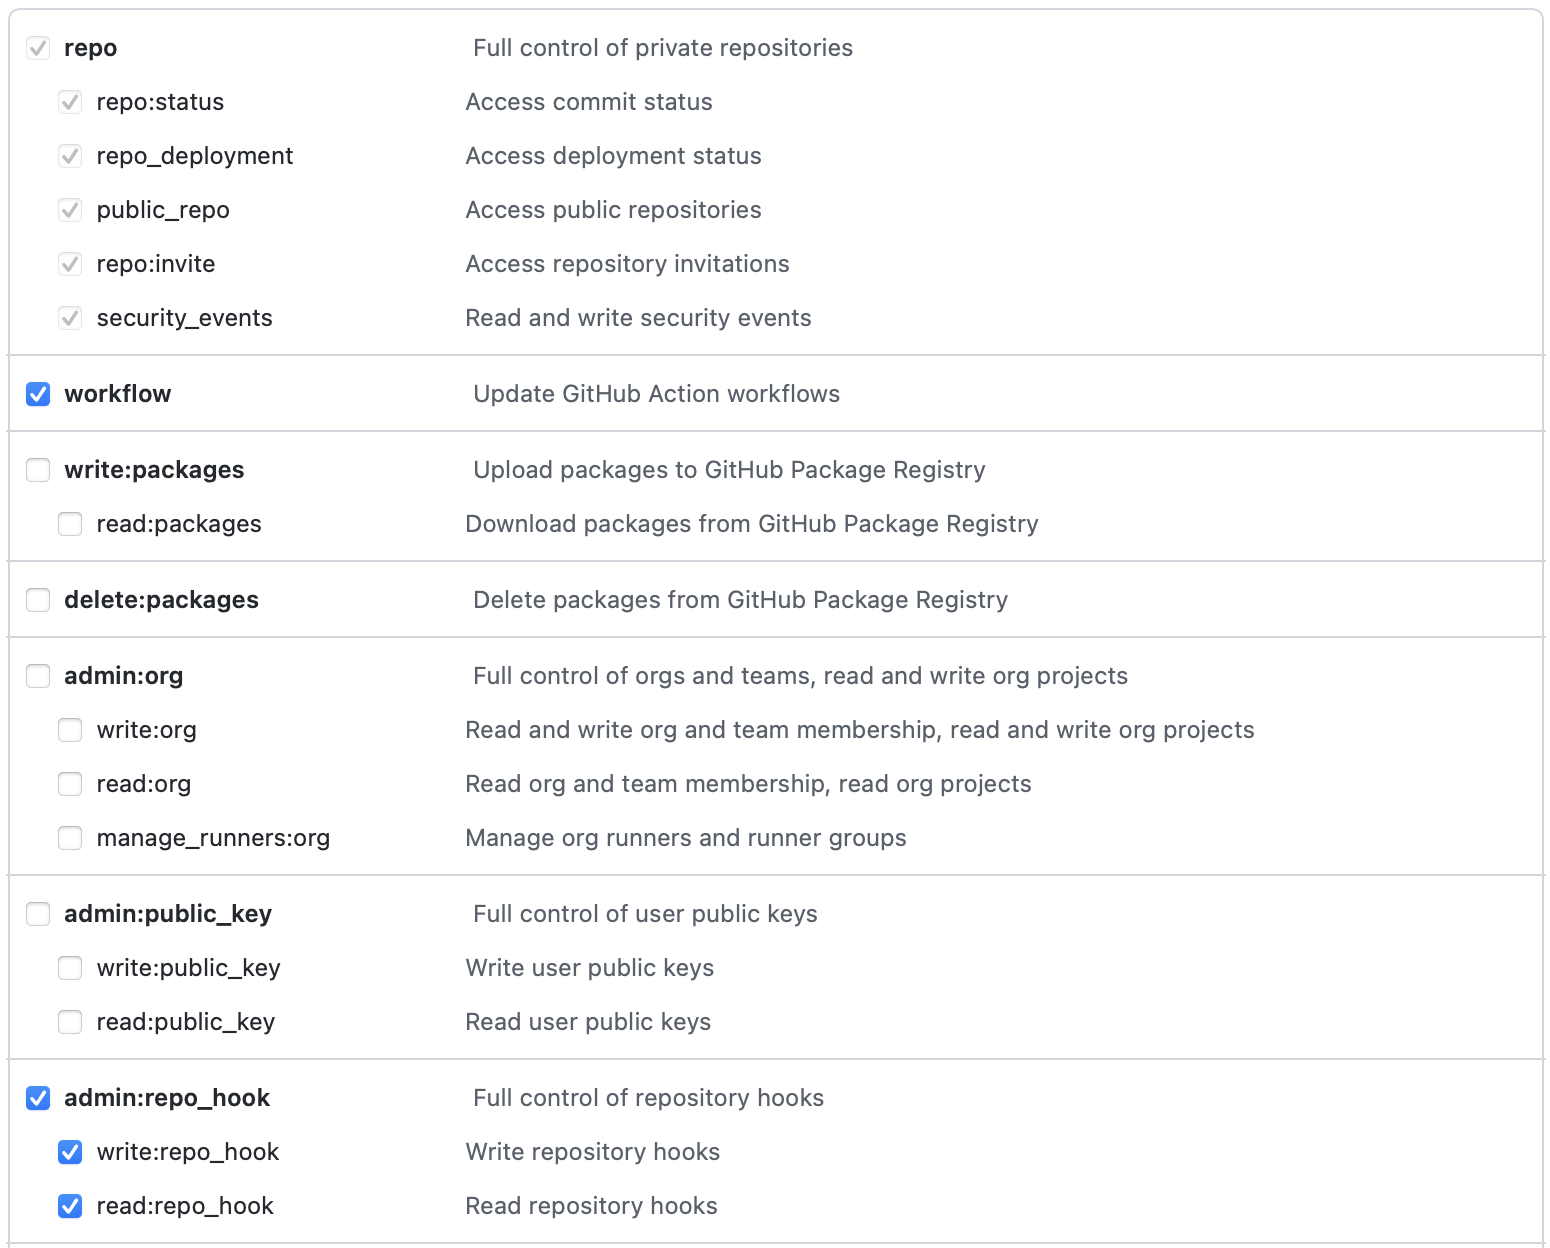
GitHub Personal Access Token
如果第一次在 Mac 上設定 Git 連線資訊,有可能會提示你要輸入 GitHub 的帳號密碼。 但 GitHub 已經取消使用密碼登入的方式,目前僅能透過 personal access token 的方式來通過驗證。 (即在輸入密碼時,改以提供 person access token 而非密碼)
Hugo 在部署站點時會需要使用 CI/CD 的功能,因此 GitHub Access Token 的 Scope 中需要把 workflow 一併勾選以授權
設定 GitHub Action
透過設定 GitHub Action , 在每次將文章推送到 GitHub Repository 後,自動執行部署站點的動作
首先,在 Terminal 透過指令建立 .github/workflows/gh-pages.yml 檔案
# 記得先將 Terminal 切換到 Hugo 站點的資料夾下,比如 quickstart

# 建立資料夾 .github/workflows/
# -p 指令可以直接將路徑中缺少的資料夾一併建立
$ mkdir -p .github/workflows/

# touch 指令建立一個空檔案,命名為 gh-pages.yml ,
# 因為輸入了相對路徑 .github/workflows ,
# gh-pages.yml 檔案會被放在 .github/workflows 資料夾下
$ touch .github/workflows/gh-pages.yml
將下列的內容複製貼上到 .github/workflows/gh-pages.yml 檔案中
name: GitHub Pages

on:
  push:
    branches:
      - main  # Set a branch name to trigger deployment
  pull_request:

jobs:
  deploy:
    runs-on: ubuntu-22.04
    permissions:
      contents: write
    concurrency:
      group: ${{ github.workflow }}-${{ github.ref }}
    steps:
      - uses: actions/checkout@v3
        with:
          submodules: true  # Fetch Hugo themes (true OR recursive)
          fetch-depth: 0    # Fetch all history for .GitInfo and .Lastmod

      - name: Setup Hugo
        uses: peaceiris/actions-hugo@v2
        with:
          hugo-version: 'latest'

      - name: Build
        run: hugo --minify

      - name: Deploy
        uses: peaceiris/actions-gh-pages@v3
        # If you're changing the branch from main,
        # also change the `main` in `refs/heads/main`
        # below accordingly.
        if: ${{ github.ref == 'refs/heads/main' }}
        with:
          github_token: ${{ secrets.GITHUB_TOKEN }}
          publish_dir: ./public
修改 Hugo 設定檔 baseURL
設定 Hugo config.toml (或 config.yml | config.json) , 更改 baseURL 為 https://{GitHub帳號}.github.io
同步 Hugo 站點到 GitHub
透過 Terminal 使用 git 指令
# 將 GitHub Pages Repository 的資訊同步到本機電腦上的 Hugo 站點資料夾中
$ git fetch

# 將目前 Hugo 站點的所有檔案納入 git 管理
$ git add --all

# 將本次納入 git 管理的異動檔案,打包成一個版本
$ git commit -m 'first commit'

# 將打包的版本同步到 GitHub Pages Repository
$ git push -u origin main
檢查 GitHub Pages 部署狀況
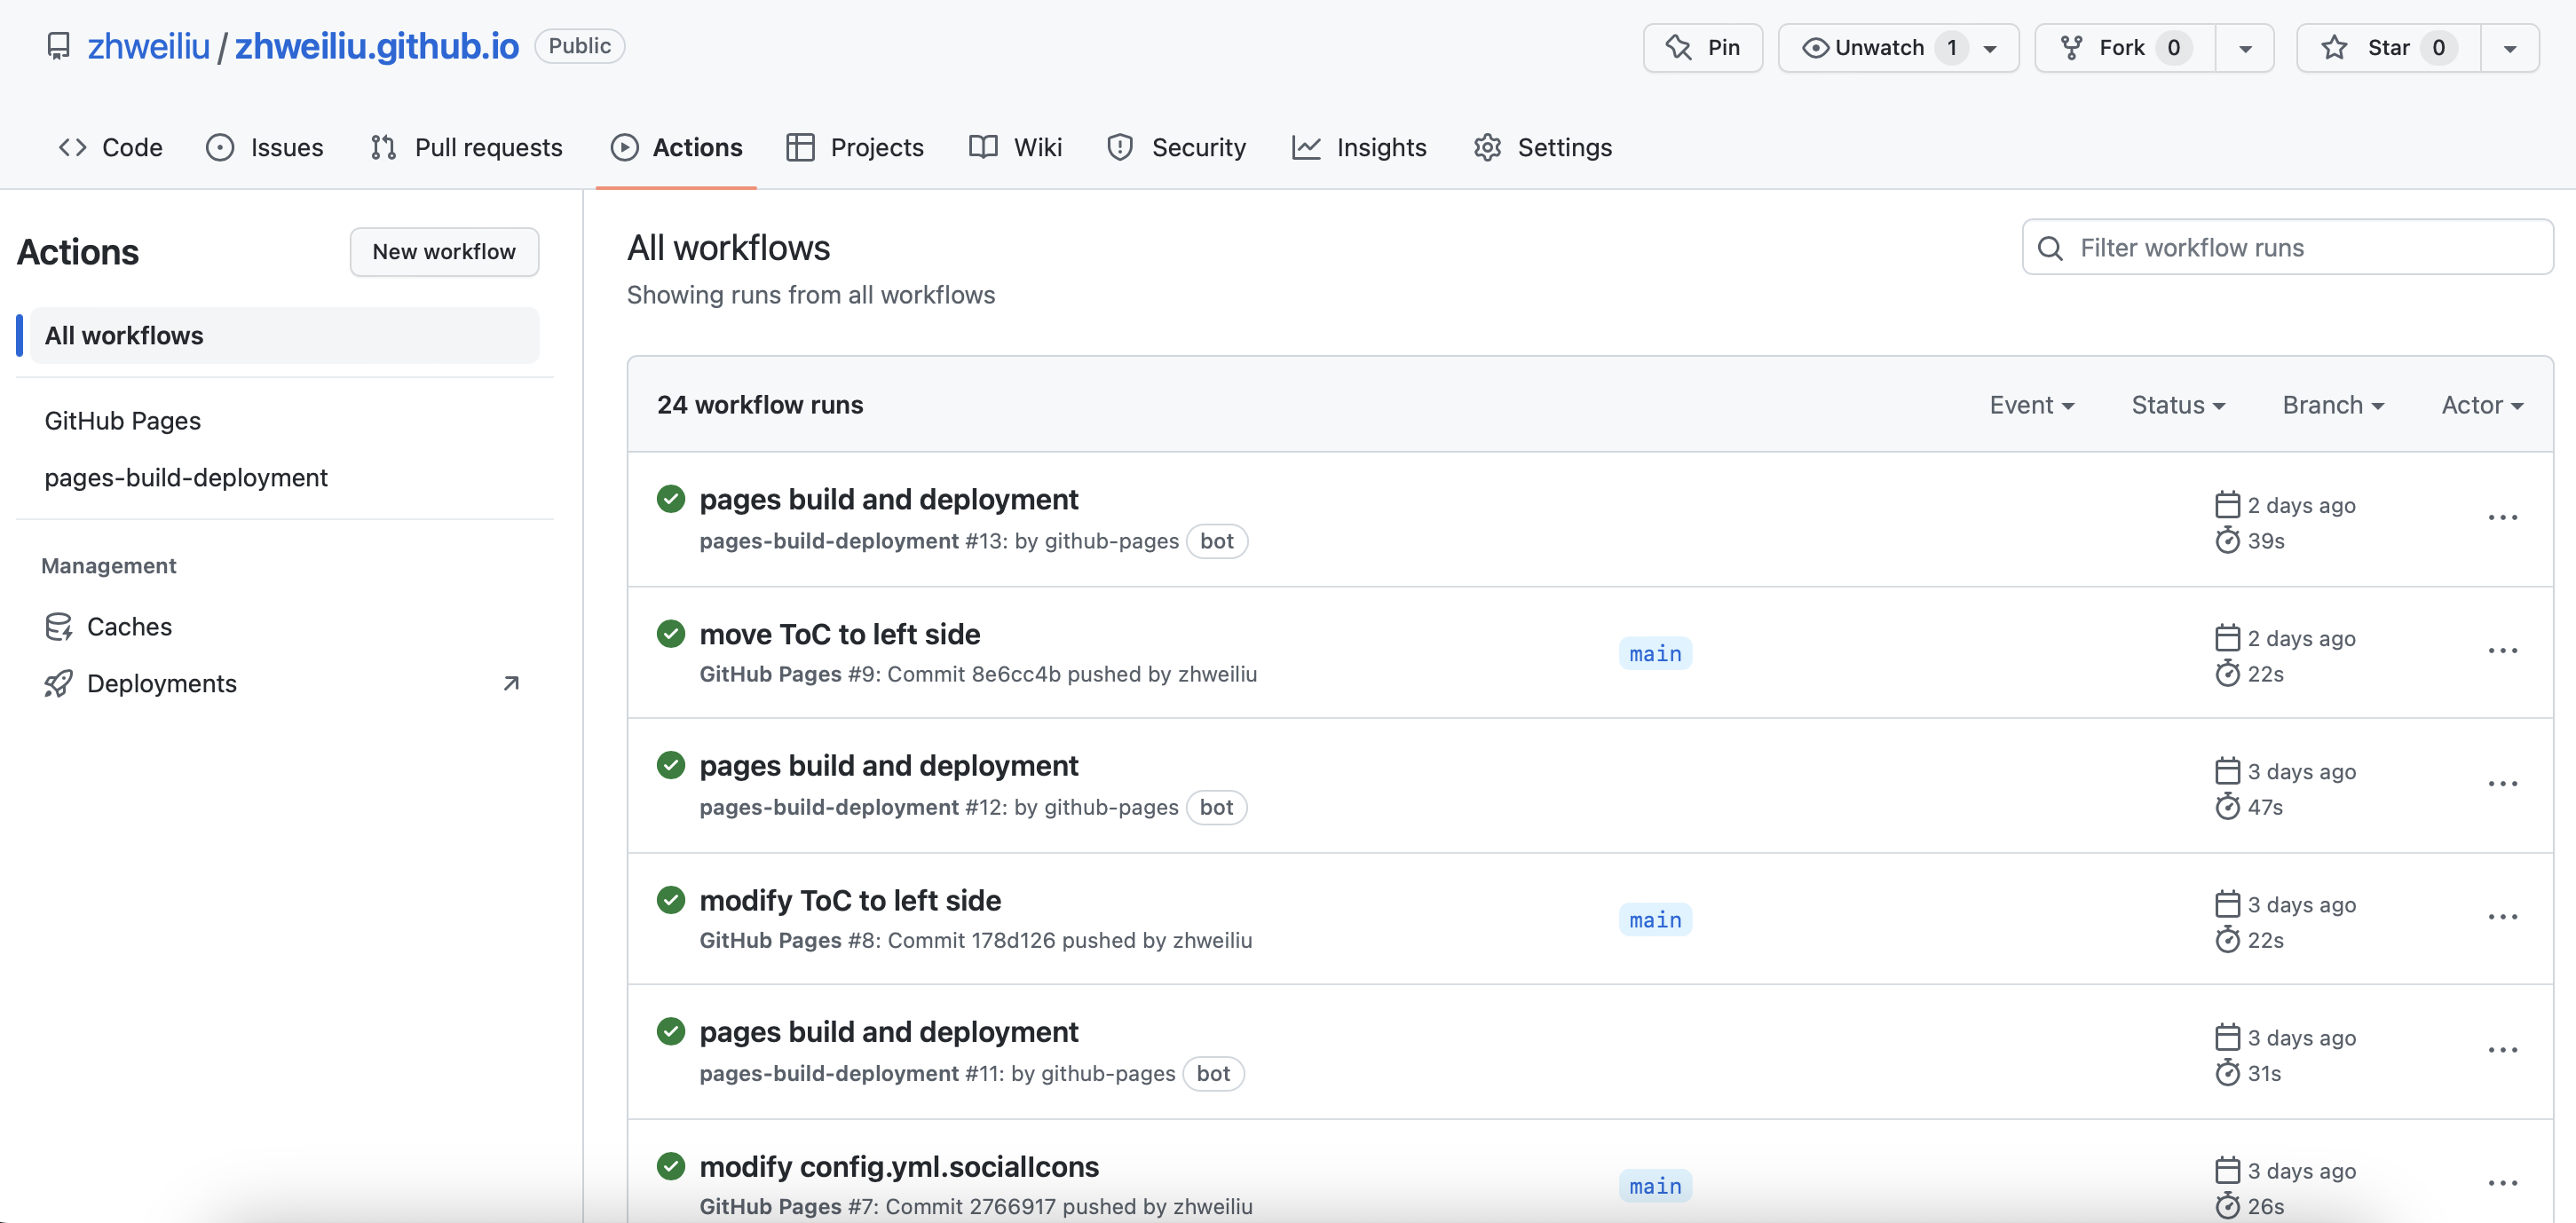
在 GitHub Pages 中點選 Actions 頁簽,可以查看所有 workflow 的運型狀況。
由於前面設定了 .github/workflows/gh-pages.yml 檔案,每次將異動的檔案同步到 GitHub Pages Repository 後, GitHub 便會自動執行 .github/workflows/gh-pages.yml 檔案設定的工作流內容,並將 Hugo 站點的文章部署到 GitHub Pages
修改 GitHub Pages Repository 的分支
在 GitHub Pages Repository 的 Settings 頁簽中修改 Branch ,這個動作是讓 GitHub Pages 可以知道應該從哪一個 Branch 抓取需要部署的 Hugo 站點資料
GitHub Pages Repository > Settings > Pages (左側選單) > Build and deployment > Branch > 點擊下拉選單從 main 更改為 gh-pages.
